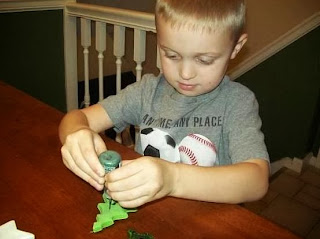
Here's a simple Dough Ornament Recipe for your new family tradition:
1 c. flour
1/4 c. salt
1/2 c. warm tap water
You can add colored tempera paint to your dough or you may paint them when baked.
Combine flour, salt and powder tempera (if desired). Add part of the water, stir and add the rest as needed to make a ball. Knead with flour till it is a soft ball that is not sticky but not too stiff. TIP: Since I make lots of ornament dough, I use a food processor, which is a great option but not necessary.
Now that you dough is complete, follow these simple steps to make your own personalized DIY ornaments!
Step 1 - Cutting process: Lightly flour surface of cutting board, roll dough out to about 1/4 inch. Take a cookie cutter and cut out. With your spatula move to cookie sheet. Continue cutting your ornaments till you have the desired number. Take a straw and cut hole in top of ornament for ribbon to hang or add a small wire hook.
Step 2 - Baking process: Bake at 225 degrees for 4 hours or until ornaments are hard.
Step 3 - Painting and finishing: If you have not colored your dough, I used the following acrylic colors to paint my ornaments:
- Mitten: Ceramcoat Cardinal Red
- Tree: Ceramcoat Christmas Green
- Star: Ceramcoat White
For Christmas tree: After the green has dried, embellish your tree with a package of stars and dots that you can pick up at any craft store. After these are dry you are ready to seal with a clear polyurethane sealer.
For star: After white has dried, this ornament is ready to seal with a clear polyurethane sealer. After the sealer dries, you can bling it up with glue and glitter.
 |
| Printable Tag |
Your children will be so proud of these! They will make a great addition to your family tree or would make wonderful gifts for parents, grandparents, school classmates or special friends.
How to store bread dough ornaments:
- Store in a cool, dry place
- Do not store in damp basement or attic
- I store all my ornaments in Rubbermaid type containers on the main floor of my home.
creative ideas!


No comments:
Post a Comment